 Catan Trainer
Catan Port Strategy: When a 2:1 Port Is Actually Worth a Settlement
Ports are the most overvalued thing on a Catan board. Players give up two pips of production to "get the port," settle on a 2:1 for a resource they barely make, and count a harbor that is three builds away as if they already own it. This guide gives you the real math of a 4:1, 3:1 and 2:1 trade, the one distance rule that makes most port plans slower than they look, a simple surplus test that tells you when a 2:1 is a genuine production multiplier, and the few situations where paying pips for a port is right.
What a port actually does
Without a port you trade with the bank at four cards for one. A 3:1 (generic) harbor makes that three for one with any resource. A 2:1 harbor makes it two for one, but only for the single resource printed on it. Each port is worth exactly the cards it saves you, so the question is never "is this port good" but "how many cards will this port save my position over the game."
Put numbers on it. Suppose a settlement makes a surplus of about twelve cards of one resource over a game that you would otherwise bank-trade. At 4:1 that surplus buys three cards you want. At 3:1 it buys four. At 2:1 it buys six. The 2:1 port is worth three extra cards over the 4:1 rate, roughly one settlement's worth of material, but only if the twelve surplus cards exist. With four surplus cards the same port is worth one extra card all game. A port's value is a multiplier on surplus, and a multiplier on nothing is nothing.
The rule that makes ports slower than they look: roads still to build
A harbor does nothing until one of your settlements sits on one of its two corners. Now apply the distance rule, which forbids any settlement on a corner adjacent to another settlement, including your own. The port corner right next to your new settlement can never be built on by anyone. So from a fresh settlement, the closest port corner you could ever settle is two roads away, and then a settlement: two wood, two brick, plus a wood, brick, wheat and sheep. That is eight cards and three builds before the port trades a single card for you.
This is why "the port is right there" is the most common placement illusion. The only port that is genuinely one road out is one your free placement road already points at, and even that needs one more road and a settlement. Price every port you are not sitting on in roads still to build, and ask whether the corner at the end of that road will still be open when you get there. On a crowded coast it often is not.
The surplus test for a 2:1 port
A 2:1 port is worth a settlement when all three of these are true:
- Your position produces a real surplus of that resource. Count pips of it across both settlements. Eight or more combined pips is an elite fit: a wheat port behind nine pips of wheat turns every spare wheat into half an ore. Four pips is not a surplus; it is roughly what you will spend yourself.
- You produce it faster than your plan spends it. A road builder burns wood and brick as fast as they arrive, so a wood port under a road position has less to convert than the pips suggest. A city builder sitting on a sheep hex spends almost no sheep, so even modest sheep production becomes surplus.
- The port corner does not cost you the production that feeds it. Port corners usually touch one or two land hexes. Settling the port corner itself for a resource-poor 7 pips, instead of the 11-pip corner next to it, means the port has less to multiply. The best port positions reach the harbor with a later settlement from a strong first one.
When the test fails, the 2:1 is a signpost. When it passes, value the surplus at roughly half its pips in any resource you like, which is usually worth more than a corner that adds a new resource at two pips.
Which 2:1 ports are worth the most
| Port | When it is strong | When it is a trap |
|---|---|---|
| Wheat 2:1 | Behind eight or more pips of wheat. Wheat is the most valuable resource, and a surplus of it converts into cities and development cards fast. | Next to a corner with no wheat; or when the wheat it is next to is the only wheat you have, because then there is no surplus. |
| Ore 2:1 | Behind heavy ore (two strong ore hexes). Spare ore becomes the wheat and sheep a city engine needs. | On boards where ore is scarce, the ore is worth more unconverted; and ore surpluses are rare, so the port is often idle. |
| Brick 2:1 / Wood 2:1 | Behind a big pile of one road resource that the position does not spend, for example a city builder sitting on a 6 brick. Road resources are the easiest to overproduce. | Under a road builder that spends them as fast as they come; or when brick and wood are both strong, because then they pair into roads and nothing is surplus. |
| Sheep 2:1 | With ten or more pips of sheep behind it, which happens on sheep-heavy boards and nowhere else. Sheep is cheap, so it takes a lot of it. | Almost every other time. Sheep is the slowest resource to spend and the most plentiful on most boards, so the sheep port is the most overrated harbor in the game. |
| 3:1 generic | Any position with any surplus. The 3:1 is the safe harbor: one of these turns a lopsided position into a working one. | Never a trap on its own, but never spectacular. Do not pay two pips for it. |
When to give up pips for a port
Pips are production; ports are conversion. Conversion only matters once there is something to convert, so the default is to take the pips and reach the port later. The exceptions are specific:
- The port corner itself is strong. A 2:1 wheat harbor on a corner touching a 6 wheat and a 9 wheat is both the surplus and the multiplier in one placement. Take it.
- The pip difference is one. An 11-pip corner on a 3:1 beats a 12-pip corner with no port on most boards, because the port is worth more than one pip of production over a game.
- Your position is lopsided and nobody will trade with you. In two-player games and on hostile tables a 3:1 is close to mandatory; it is the only way to turn eight pips of one thing into the two things you lack.
- The port is the second settlement, feeding the first. This is the best port placement there is: a first settlement with heavy production of one resource, and a second settlement on that resource's 2:1 harbor. Judge it on the combined position, not the port corner alone.
Never give up a scarce resource for a port. If the only ore on the board is on one corner and the port is on another, the ore wins, because you can trade for a port's effect at 4:1 and you cannot trade for ore that does not exist.
Mistakes to avoid
- Counting a port you do not sit on. It is roads still to build, and the corner may be gone by the time you get there.
- Matching the port to the wrong settlement. A 2:1 is judged against your combined production. An ore port next to a corner that makes no ore is still excellent if your first settlement makes eight pips of it.
- Taking a sheep port because it is there. See above.
- Pointing your placement road at a port corner another player's road already points at. You will lose that race more often than you win it.
- Treating two ports as twice as good. You can only trade so much. One 3:1, or one 2:1 you can feed heavily, is a port game; a second port adds little.
A worked example
Your first settlement is on a 6 wheat, 9 wheat and 10 ore: 12 pips, nine of them wheat. Two second-settlement candidates are open:
- Corner A: 8 ore, 5 sheep, 3 brick — 11 pips and a complete city engine, no port in reach.
- Corner B: 8 ore, 4 sheep, on the 2:1 wheat harbor — 8 pips.
Corner A has three more pips. Corner B has the wheat port behind nine pips of wheat, which passes the surplus test easily: every spare wheat becomes half an ore, so the position builds cities on wheat and ore alone and the three pips of sheep and brick it gives up were never going to be spent anyway. Most strong players take B. Change one detail, a 2:1 sheep harbor instead of wheat, and A wins by a mile, because nine pips of wheat is not a sheep surplus.
The checklist
- A port is only an asset when a settlement sits on it. Everything else is roads still to build.
- A 2:1 is worth its surplus: eight or more combined pips of that resource, that your plan does not spend.
- A 3:1 is the safe version. Good everywhere, spectacular nowhere.
- Take pips over ports unless the difference is one pip, the port corner itself produces, or the port is a second settlement feeding the first.
- Never trade a scarce resource for a port.
See how a real board prices its ports
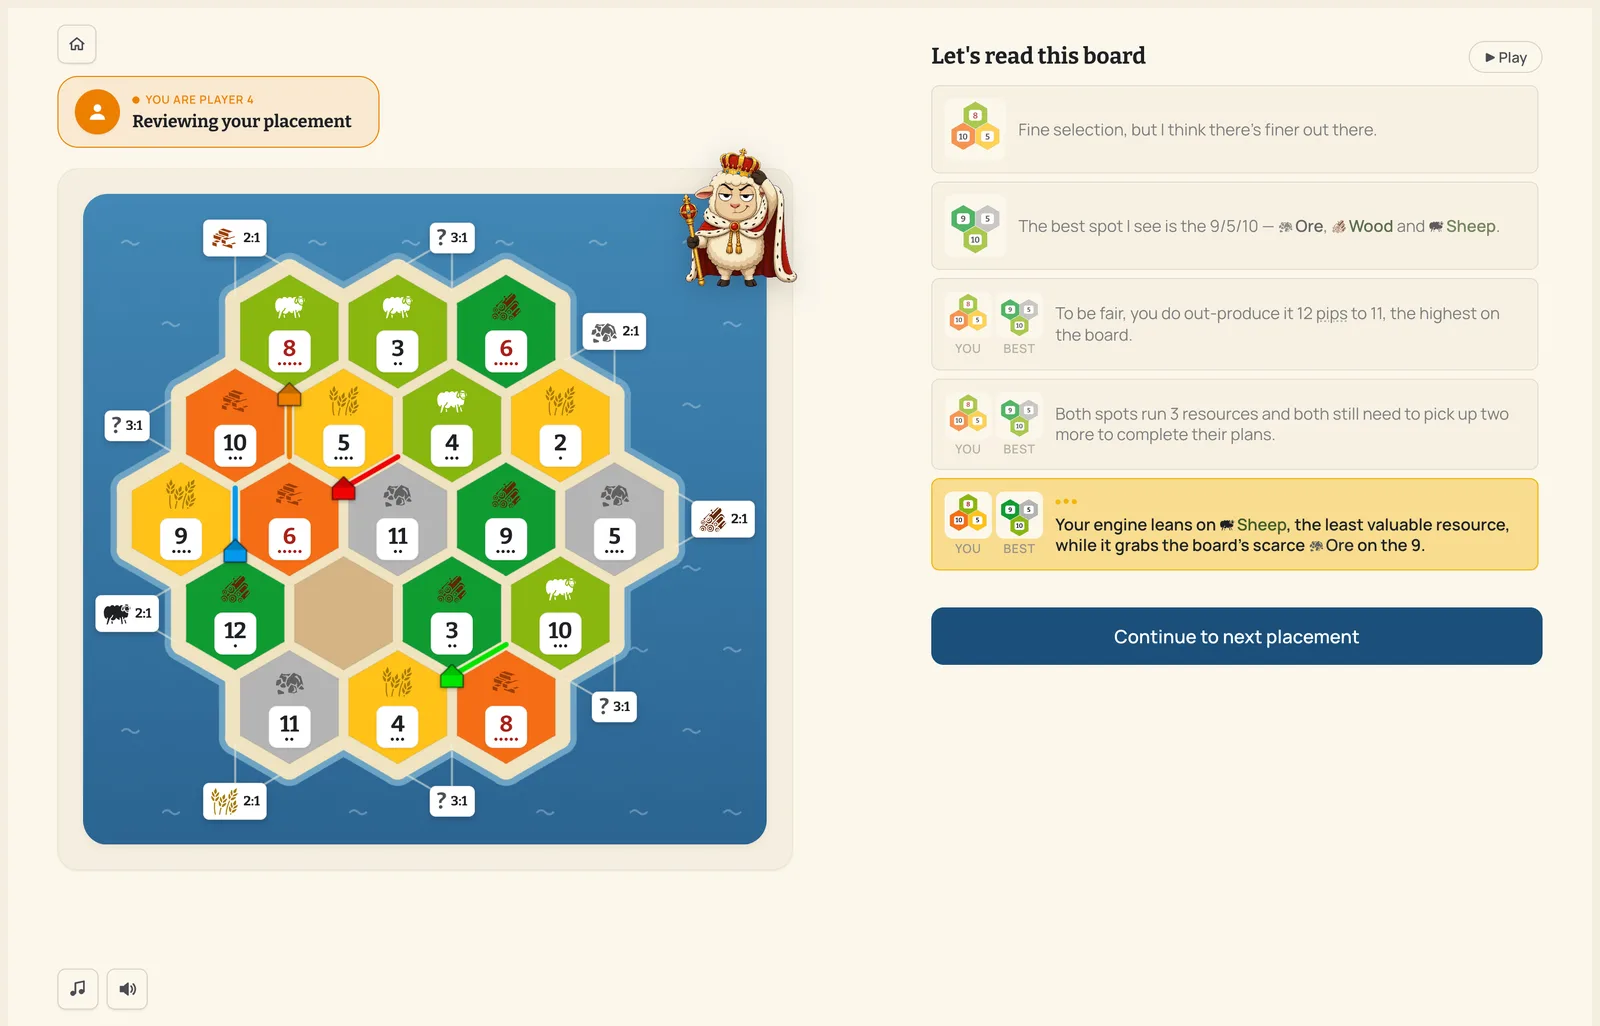
Catan Trainer deals you a board, you place, and an AI coach shows you the best available spot and argues the difference, including whether that 2:1 was worth it. Free to try.
Train your placements →